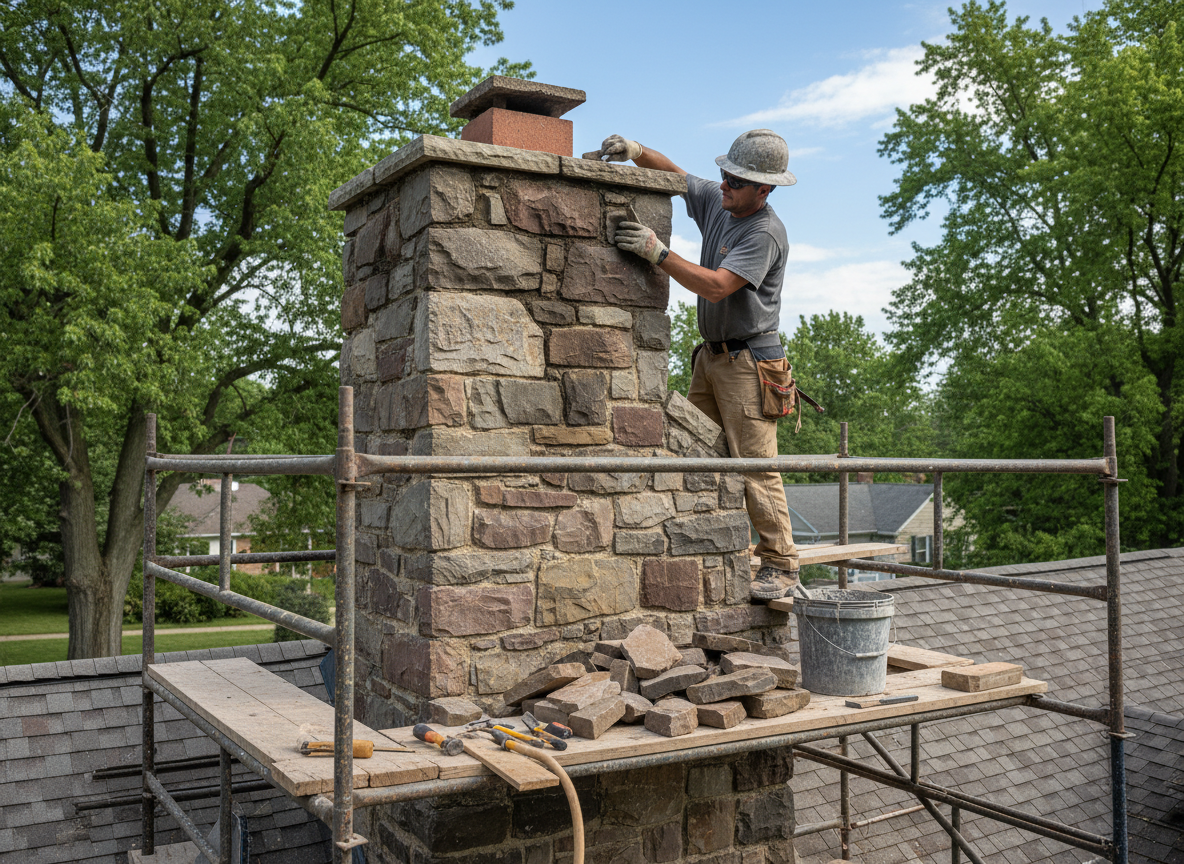
Stone chimneys in Blue Ash homes often show cracked mortar, displaced cap stones, and water intrusion where flashing meets the roofline. Peak Wrench examines the full stack from crown to foundation, noting how Hamilton County freeze-thaw cycles widen gaps in limestone and sandstone that were set with older lime mortars. We repoint using compatible Type N or O mortar mixes that allow the stone to breathe rather than trap moisture behind harder Portland cement.
Edge cases include chimneys built against frame additions where differential settling pulls the stone away from the house wall. In these situations we install stainless steel ties and rebuild the intersection with step flashing that integrates into existing siding. We also address crown cracks that let rainwater reach the flue liner, a common failure point on two-story homes along Plainfield Road where access requires sectional scaffolding.
Homeowners should never apply sealant over active leaks; it masks the source and accelerates interior damage. We document every joint and stone before work begins so the repair can be inspected later. All work follows current IRC requirements for chimney height, clearance to combustibles, and weatherproofing details applicable in Blue Ash.
Technician insight
In Blue Ash the thing that catches most people out with stone chimney repair is how the 1950s-1970s homes along Plainfield Road were built with soft lime mortar that fails faster once the original crown starts letting water in; homeowners often notice only after interior ceiling stains appear.
Displaced Cap Stones on Two-Story Home
Water was entering around loose cap stones on a limestone chimney in Blue Ash. We found the original mortar had washed out and several stones had shifted. We reset the stones, installed new stainless flashing, and repointed the full stack. The homeowner reported no further leaks after the first heavy rain.
How it works
- 1
Initial Assessment
We arrive at the Blue Ash address, document visible stone movement and water stains, and check liner condition from the top down.
- 2
Mortar And Stone Evaluation
We test mortar hardness and stone integrity, marking every joint that needs repointing or replacement before any work starts.
- 3
Repair Execution
We remove failed mortar, reset or replace stones as needed, install new flashing, and repoint with matching mortar while protecting the roof and landscaping.
- 4
Final Inspection And Cleanup
We verify water shedding, photograph the completed work, and remove all debris from the job site.
Pricing
Upfront quote provided after on-site inspection; final price depends on access, number of stones involved, and extent of flashing work.