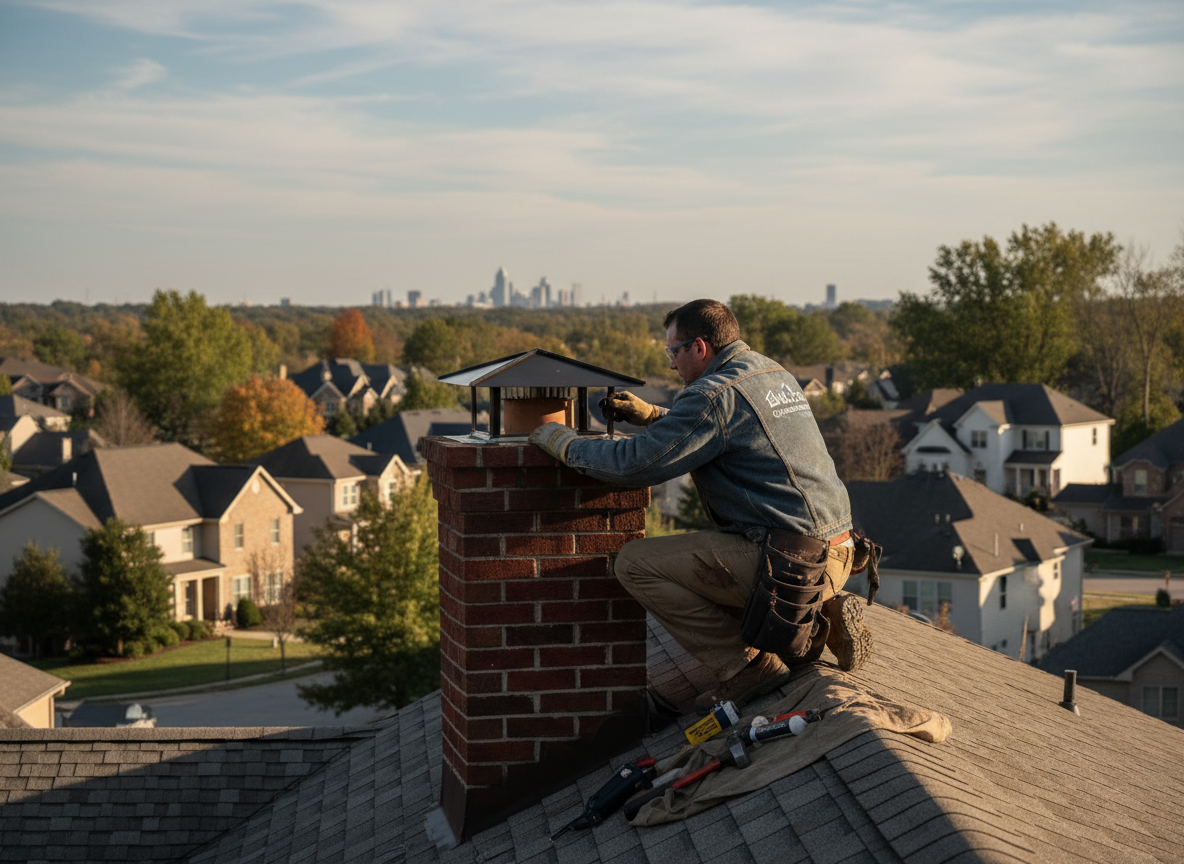
Blue Ash homes built in the 1950s through 1970s often carry original clay or concrete caps that crack after decades of freeze-thaw cycles. Winter temperatures swing above and below freezing, pushing moisture into hairline fractures until the cap spalls or tilts. When that happens, water runs down the flue liner and stains ceilings or rots framing near the crown. We inspect the cap, flue, and crown together because a failed cap rarely stands alone in this climate.
Replacing a cap requires matching the flue size and roof pitch exactly. Many Blue Ash roofs sit at 8/12 or steeper, so we use stainless steel or copper caps with proper overhang and bird screens rated for Ohio wind loads. We also check the flashing where the chimney meets the roof; older asphalt shingles around Montgomery and Plainfield Road intersections often pull away after cap movement. A new cap without fresh flashing simply moves the leak point a few inches lower.
Homeowners sometimes try to seal a cracked cap with mortar or caulk. Those patches fail within one winter because they trap moisture against the masonry. We remove the old cap entirely, clean the flue top, and set the new unit in a bed of refractory mortar rated for 2000 degrees. That approach prevents the next freeze cycle from lifting the repair the way surface patches do.
Access on Blue Ash lots can be tight when mature trees overhang the chimney. We bring sectional ladders and roof brackets instead of scaffolding on most single-story ranches and split-levels common north of the Ronald Reagan Highway. This keeps the job contained to one day while protecting the existing roof surface.
Technician insight
In Blue Ash, the thing that catches most people out with chimney cap repair is the way our freeze-thaw winters lift patched caps within one season. Older brick chimneys on homes near Plainfield Road and Montgomery Road sit on clay soil that holds moisture, so water keeps finding its way back under any surface fix. We always pull the old cap completely and re-bed the new one instead of trying to seal over cracks.
Cracked Cap on 1960s Split-Level
A Blue Ash homeowner noticed water stains on the second-floor ceiling after a January thaw. We found the original concrete cap had tilted and cracked along the flue edge. We removed the cap, replaced the step flashing where the roof met the chimney, and installed a stainless steel cap with proper overhang. Draft improved and no further staining appeared the following winter.
How it works
- 1
Site Assessment
We climb the roof, measure the flue, and check crown condition from 9000 Plainfield Rd jobs outward.
- 2
Cap Removal
Old cap and any loose mortar are taken off so the flue top is clean and level.
- 3
Flashing Check
We inspect and replace step flashing where the chimney meets the roof plane.
- 4
New Cap Installation
A properly sized stainless or copper cap is set in refractory mortar with correct overhang.
- 5
Final Draft Test
We confirm smoke draws correctly before leaving the site.
Pricing
Cost depends on roof access, flue size, and whether flashing must be replaced at the same time.