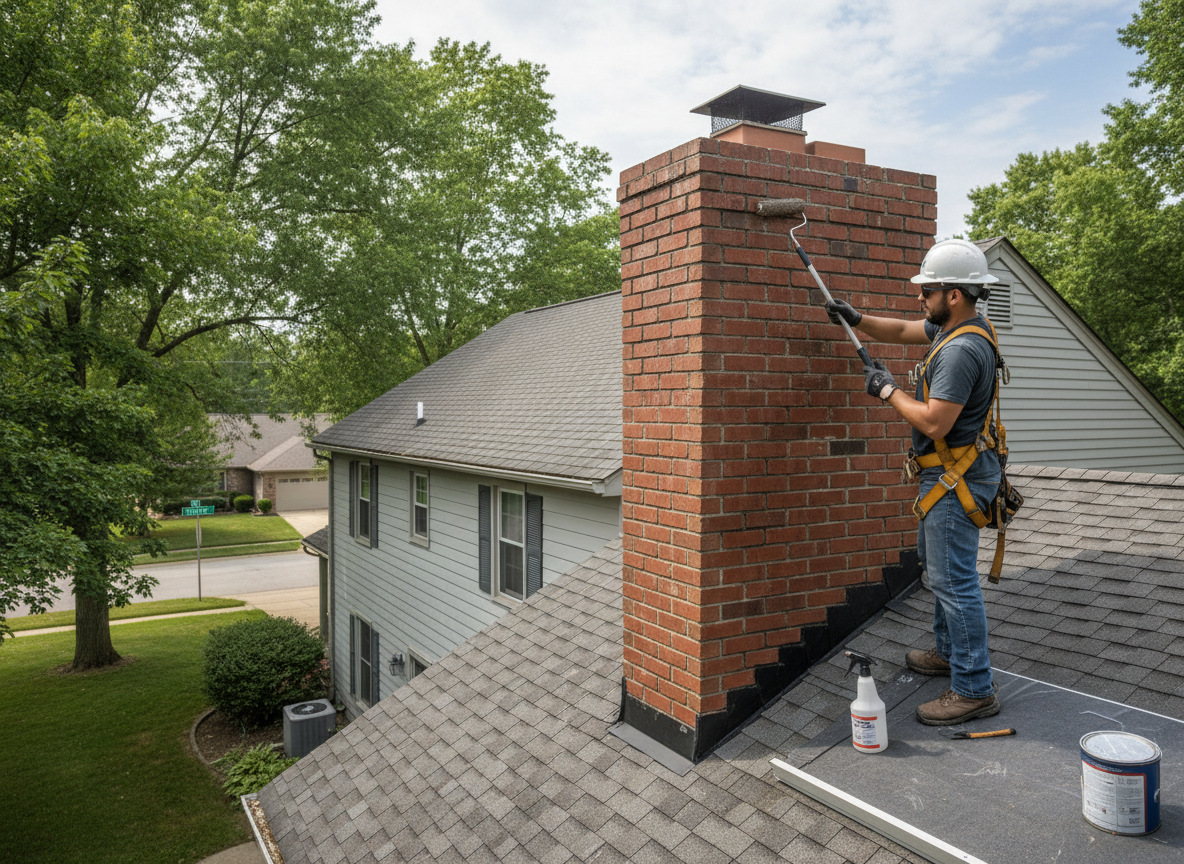
Blue Ash homes, many built with brick chimneys from the 1960s onward, face repeated soak-and-freeze cycles each winter. Water enters through porous brick, cracked crowns, and deteriorated flashing, then expands when temperatures drop below freezing. A quality waterproofing treatment uses breathable silane-siloxane sealers that penetrate the masonry without trapping moisture inside the flue. Application must reach the full height of the chimney stack, including the wash at the top, because runoff from the roof often concentrates there during the spring rains common in Hamilton County.
Flashing integration matters most on homes with steep asphalt-shingle roofs found throughout the Blue Ash neighborhoods east of Reed Hartman Highway. Sealant alone fails if step flashing has pulled away from the brick; the repair sequence therefore includes re-sealing those joints before the waterproofer is applied. Homeowners sometimes attempt spray-on products from big-box stores, but those coatings peel within two seasons when they sit on top of dirt or efflorescence instead of clean masonry.
Edge cases include chimneys with clay-tile liners that have shifted; water that reaches the liner gap can migrate downward into the attic. Proper waterproofing stops at the exterior face and never attempts to seal the flue interior, because combustion byproducts must still vent. After treatment, the surface darkens slightly for a few days then returns to its original tone, a normal reaction that confirms the sealer has penetrated rather than formed a surface film.
Technician insight
In Blue Ash, the thing that catches most people out with chimney waterproofing is how the heavy clay soils around 1960s ranch foundations stay saturated for weeks after rain, pushing moisture up through the brick even when the crown looks fine from the ground.
Attic Stains on Plainfield Road Home
Homeowner reported water marks on ceiling joists after March rains. Inspection showed hairline cracks in the crown and open flashing joints on the south face. We cleaned the masonry, resealed the flashing, and applied two coats of silane-siloxane sealer. Follow-up after the next heavy rain showed no new moisture.
How it works
- 1
Site Inspection
Examine crown, flashing, brick condition, and roof tie-ins from ground and roof level to identify active water paths.
- 2
Surface Preparation
Remove efflorescence, loose mortar, and previous coatings so the sealer bonds directly to sound masonry.
- 3
Flashing Repair
Re-seat or replace step flashing and counter-flashing where separation allows water entry at the roofline.
- 4
Sealer Application
Apply two coats of breathable silane-siloxane waterproofing by brush and sprayer, working from top down including the wash.
- 5
Final Check
Verify coverage and test with water hose to confirm runoff sheds without absorption.
Pricing
Upfront quote after on-site inspection; cost varies with chimney height, brick condition, and any flashing repairs needed.