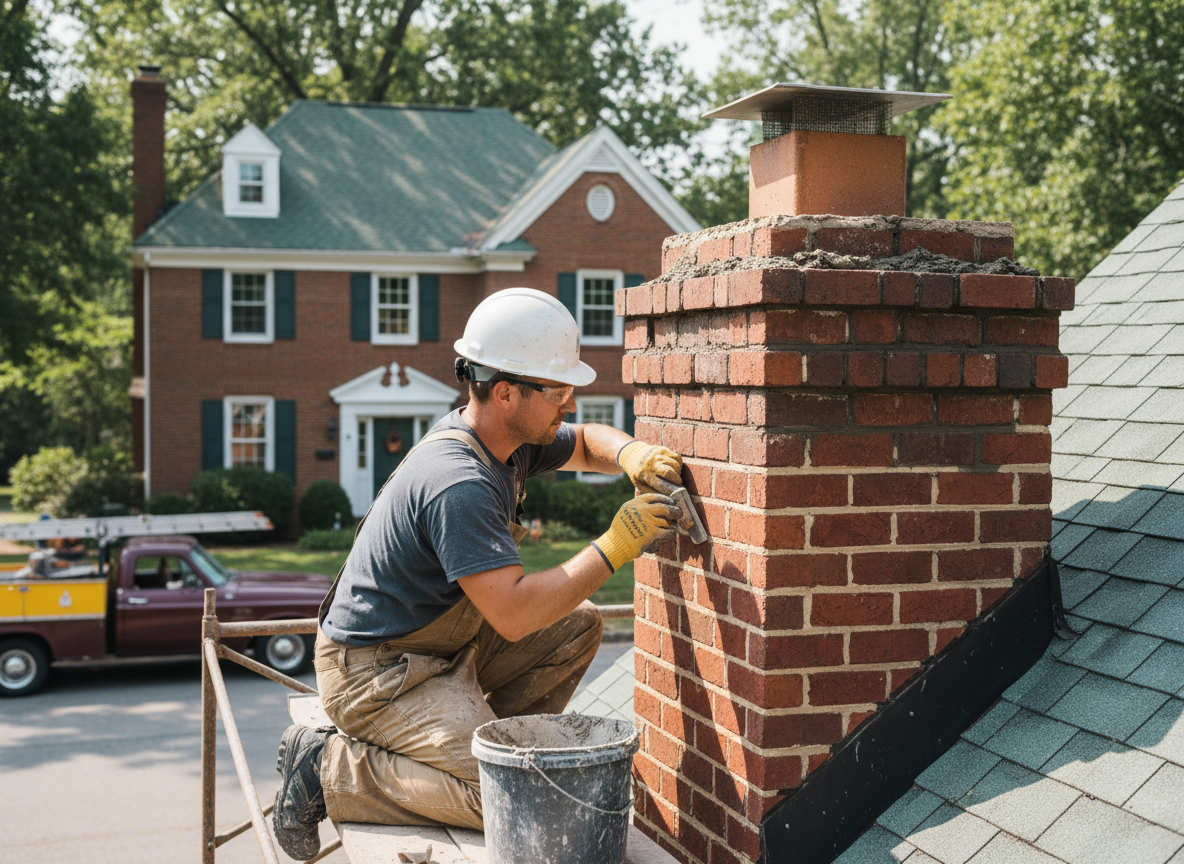
Blue Ash chimneys on 1950s-1970s brick homes face repeated freeze-thaw cycles that crack and erode mortar joints, especially on north-facing exposures and near the roofline where snow lingers. Tuckpointing removes failed mortar to a consistent depth, cleans the joint, and packs in new mortar matched to the original color and hardness so the chimney sheds water instead of absorbing it. Skipping this step lets moisture reach the flue liner or interior framing, turning a small joint repair into full chimney rebuild work.
Homeowners in neighborhoods like Plainfield and Huntley often notice white efflorescence or loose bricks after heavy spring rains. Proper tuckpointing uses a lime-based mortar that flexes with temperature swings rather than a hard Portland mix that cracks again within two seasons. We also check flashing where the chimney meets the roof, because failed step flashing is the usual reason new mortar fails within a year.
Tuckpointing work in Blue Ash must respect the original brick profile; grinding too deep or using the wrong joint finish changes how water runs off and can trap moisture behind the brick face. On two-story homes the scaffold setup and debris containment add time, while single-story ranches allow faster access but still require full joint cleaning to prevent future spalling.
Technician insight
In Blue Ash, the thing that catches most people out with chimney tuckpointing is the north-side joints on homes built before 1975. Those bricks were laid with softer mortar that crumbles faster once the first freeze-thaw cycle hits, and homeowners usually only notice the damage after water has already reached the attic sheathing.
Tuckpointing on a 1962 Split-Level
The homeowner noticed white powder on the chimney bricks after winter. We found eroded mortar on the north and west faces where snow sat against the roofline. We cut out the failed joints, cleaned them, and repointed with a lime-based mix that matches the original. The chimney now sheds water cleanly and the interior stains stopped.
How it works
- 1
Chimney Inspection
We examine every joint from crown to roofline, note water stains, and test brick soundness before any cutting begins.
- 2
Mortar Removal
Old mortar is cut out to a uniform depth using hand tools to avoid damaging the brick edges.
- 3
Joint Cleaning
Dust and debris are vacuumed and joints are flushed so the new mortar bonds directly to the brick.
- 4
Mortar Application
Fresh mortar is packed in layers, tooled to match the existing profile, and protected while it cures.
- 5
Final Check
We verify the crown, flashing, and cap are intact and test for water shedding before leaving the site.
Pricing
Cost depends on chimney height, number of sides requiring work, and how much mortar must be removed.