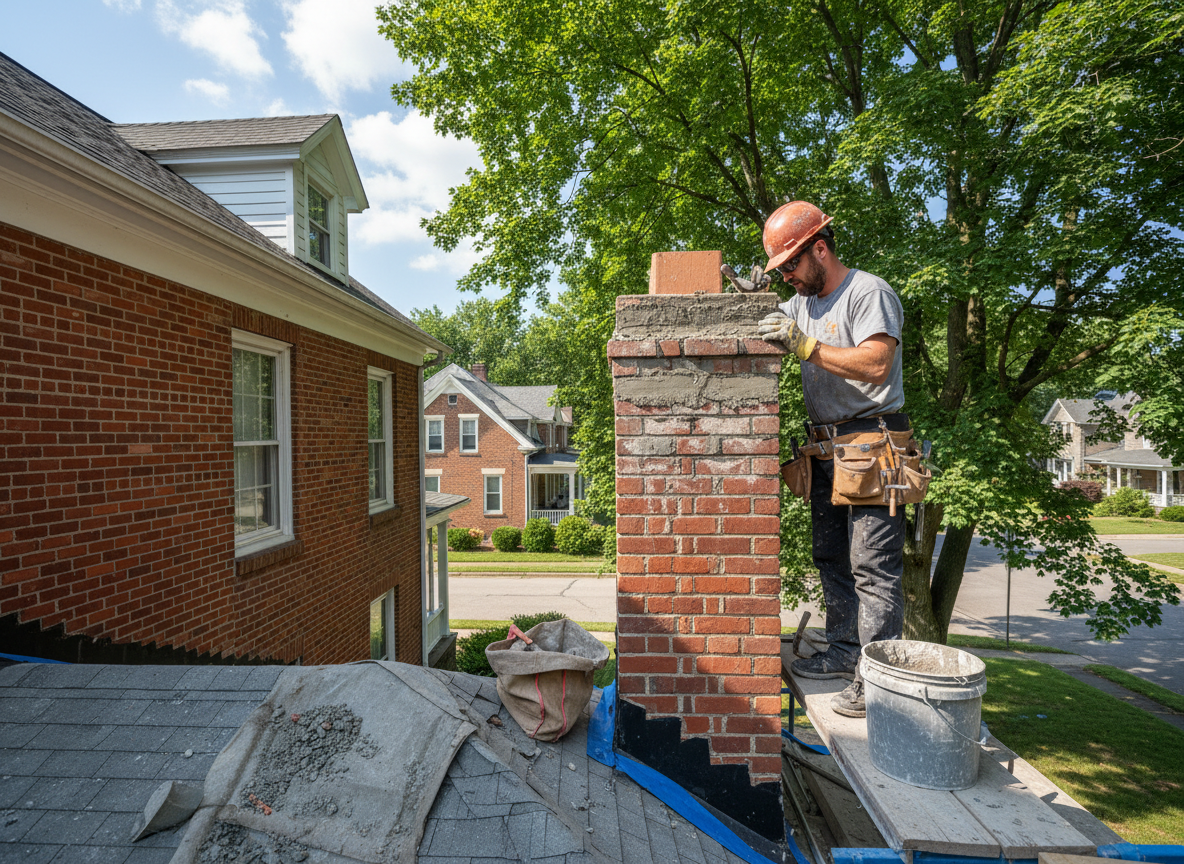
Chimney restoration in Blue Ash starts with a full inspection of the flue, crown, and flashing because many homes here sit on clay-heavy soil that shifts with freeze-thaw cycles. Mortar joints erode faster when water sits against the brick, and older chimneys often have single-wall tile liners that crack from repeated heating and cooling. We repoint with type-N mortar matched to the original, replace damaged flue tiles where code allows, and rebuild crowns with a proper overhang to shed water away from the stack.
Blue Ash homes built between the 1950s and 1980s frequently have chimneys that lean slightly from soil movement along the Little Miami River valley. That tilt lets rain enter the flue and freeze inside the liner, spalling bricks from the inside out. Restoration includes installing a stainless-steel liner sized to the appliance, sealing the chase cap, and adding cricket flashing on the uphill side when the roof pitch is steep. These steps stop water entry before it reaches the attic or living space.
We also address the concrete cap and wash at the top because Ohio winters send ice directly into any crack. A new cap is formed with a drip edge and a slight pitch so water runs off instead of pooling. When the original brick is too damaged, we rebuild the top three to four courses with new brick and stainless-steel ties rather than patching, which prevents the same failure in another two winters.
Technician insight
In Blue Ash the thing that catches most people out with chimney restoration is the clay soil along the river valley that keeps shifting foundations every freeze-thaw cycle. Homeowners think a new cap will fix it, but if the stack is already leaning from the base the cap cracks again in two winters.
Leaning Stack on Plainfield Road
The homeowner noticed water stains on the second-floor ceiling after a hard freeze. We found the chimney had tilted three inches from soil movement and the flue liner was cracked through. We rebuilt the top four courses with new brick and ties, installed a full stainless liner, and formed a pitched cap. No further water entry after the next winter.
How it works
- 1
Initial Inspection
We examine the flue, crown, flashing, and surrounding roof deck from the top down and inside the home to map all damage.
- 2
Masonry Assessment
We test mortar condition and check for spalled brick or leaning caused by local soil movement.
- 3
Liner and Cap Work
We install a properly sized stainless liner and form a new concrete cap with drip edge.
- 4
Final Sealing and Cleanup
We repoint joints, seal flashing, and remove all debris from the roof and yard.
Pricing
Upfront quotes after on-site inspection; cost driven by liner length, brick replacement volume, and roof access.