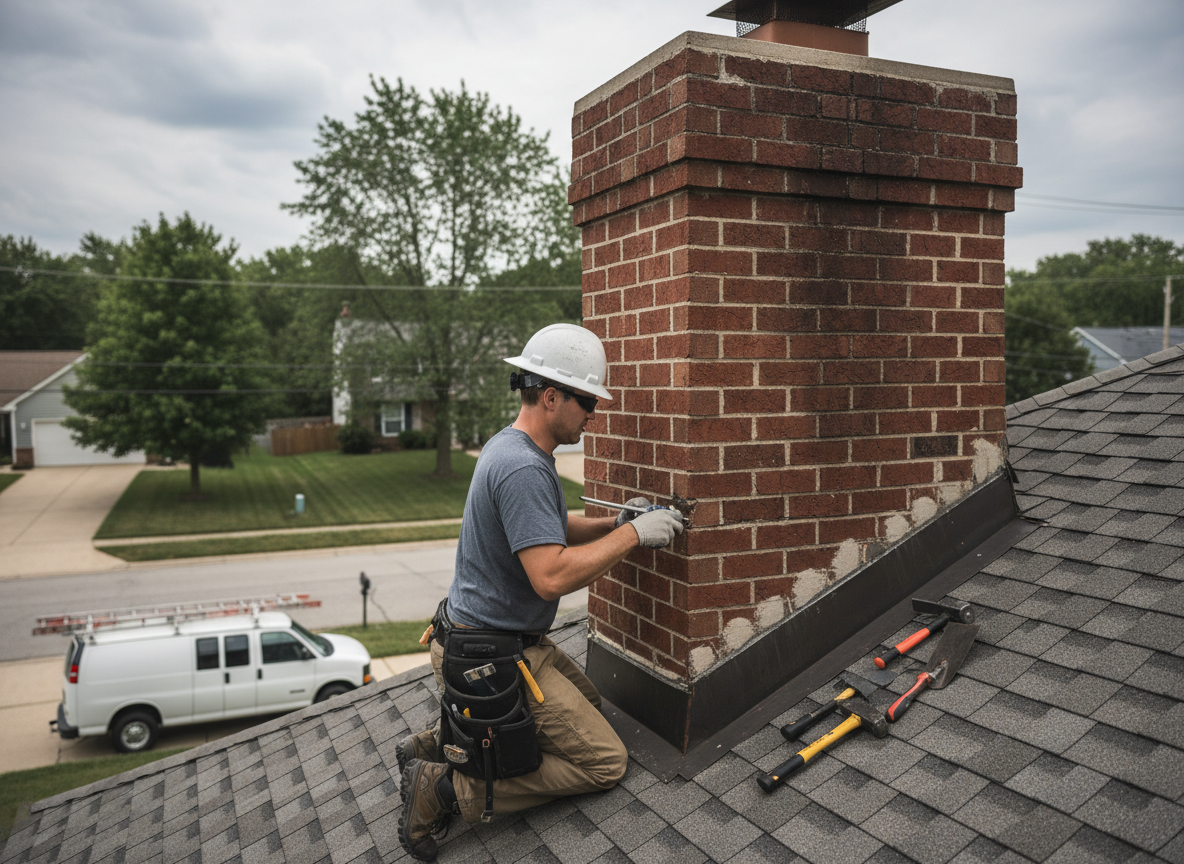
Chimney leaks in Blue Ash often start at the crown or step flashing where older brick chimneys meet asphalt roofs. Homes built from the 1950s through 1970s in neighborhoods like the Plainfield corridor and surrounding Hamilton County streets commonly show water tracking down flue liners after repeated winter cycles. We inspect the full chase, remove failed mortar or sealant, and install stainless or copper flashing that expands and contracts without cracking. This prevents rot in attic sheathing and keeps insulation dry.
Edge cases we see include leaks that only appear during wind-driven rain from the northwest, which hits many Blue Ash roofs at an angle that bypasses standard counter flashing. We also address cases where previous repairs used incompatible caulk that trapped moisture against the masonry. Proper repair requires cutting out the old material, installing new lead or copper step flashing, and repointing with Type N mortar matched to the existing brick. Skipping the crown rebuild or liner inspection often leads to repeat calls within two seasons.
Ohio residential code requires that any chimney penetration maintain proper clearance and weatherproofing when work is performed. We always verify the flue is clear and the spark arrestor is intact before closing up the roof deck. Homeowners should watch for brown stains on ceiling drywall near the chimney or efflorescence on interior brick as early signs that water is entering the structure.
Seasonal Guidance
Blue Ash winters bring repeated freeze-thaw that opens hairline cracks in chimney crowns. Schedule inspection before the first hard freeze so repairs can be completed while temperatures stay above 40 degrees for proper mortar cure.
Technician insight
In Blue Ash, the thing that catches most people out with chimney leak repair is how the freeze-thaw cycles in Hamilton County winters widen small cracks in the mortar joints of older brick chimneys built in the 1960s and 70s, leading to leaks that show up months later inside the attic.
Step Flashing Failure on Plainfield Road
Water stains appeared on the second-floor ceiling after a spring storm. We traced the leak to deteriorated step flashing where the chimney met the roof on a 1968 ranch. We cut out the old flashing, installed new copper step and counter flashing, and rebuilt the crown with Type N mortar. The homeowner reported no further moisture after the next heavy rain.
How it works
- 1
On-Site Assessment
We arrive within hours, climb to the roof, and trace every joint and flashing seam for active leaks using moisture meters and visual inspection.
- 2
Diagnosis and Quote
We identify the exact entry points, explain the materials needed, and provide a written scope before any work begins.
- 3
Targeted Repair
Remove failed flashing or crown sections, install new copper or stainless components, repoint mortar, and seal all penetrations.
- 4
Final Verification
We perform a water test from the roof and check interior ceilings for any remaining moisture before leaving the site.
Pricing
Upfront written quotes after inspection; final price depends on roof access, extent of masonry damage, and whether liner work is required.