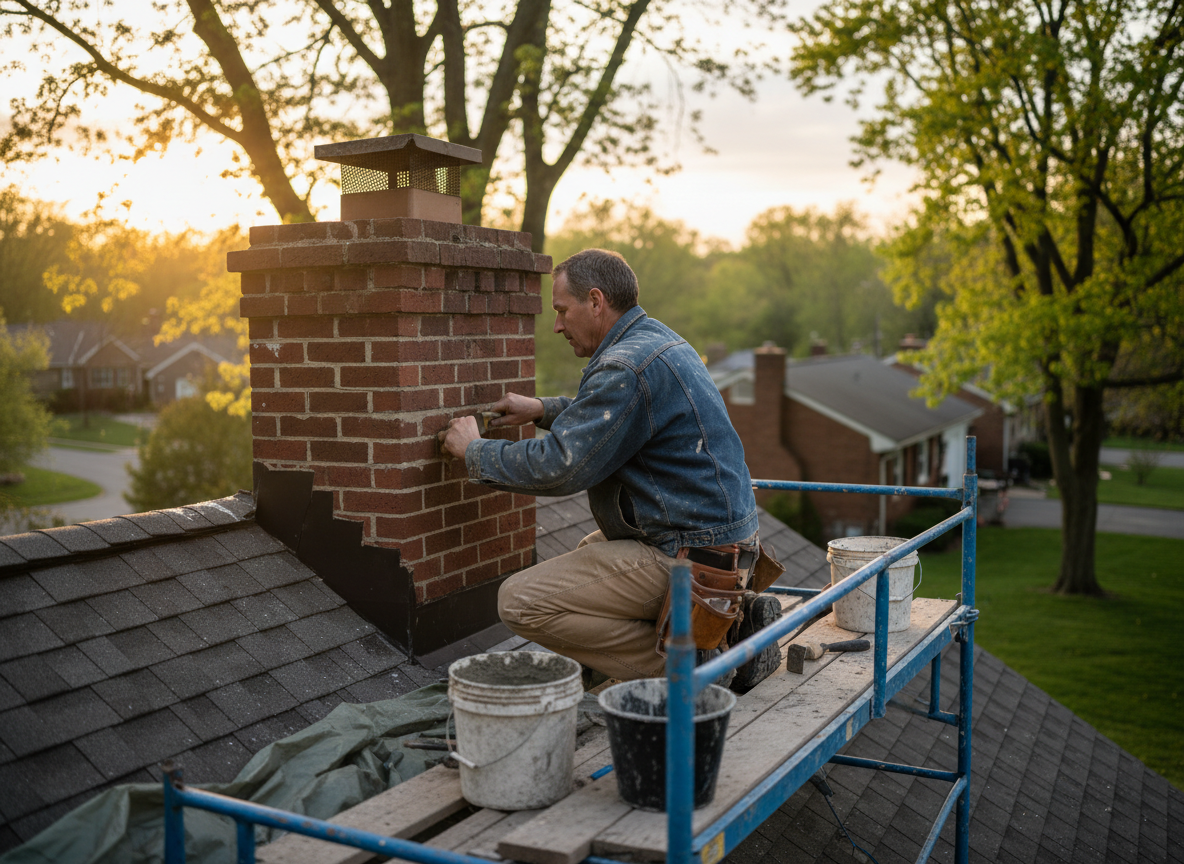
Blue Ash homes often sit on older foundations that shift with Ohio freeze-thaw cycles, which pulls chimney stacks out of plumb and opens mortar joints. Water gets behind the brick, freezes, and spalls the faces, turning a small leak into a full flue rebuild if left alone. At Peak Wrench we start every job with a top-down and bottom-up inspection so we can quote exactly what the masonry needs rather than guessing from the ground.
Many Blue Ash chimneys serve both furnaces and fireplaces, so a single crack can send water into the smoke chamber and down onto the damper. We repoint with type-N mortar matched to the original, install new lead flashing at the roofline, and crown the top with a wash that sheds water away from the flue tile. These steps keep the repair cost down while stopping the water path that causes most callbacks.
Seasonal Guidance
Spring inspections catch winter damage before summer storms arrive, while fall visits focus on crown and cap integrity ahead of heating season. Blue Ash properties near wooded lots see extra debris buildup that holds moisture against the masonry, so we clear and treat those areas during every visit.
Common Edge Cases
When a chimney serves a gas insert, the liner temperature swings are smaller but the acidic condensate is higher, eating through mortar faster than wood smoke. We check for that condition on every Blue Ash call and recommend a stainless liner only when the original tile is compromised beyond repointing.
Technician insight
In Blue Ash the thing that catches most people out with affordable chimney repair is how fast water travels once the crown cracks on a 1960s-70s split-level. The chimney leans slightly from foundation settling on the clay soils along Plainfield Road, so the leak shows up in the basement two stories down instead of right at the roof. We always check the full height before quoting because chasing the symptom instead of the lean just moves the problem to the next joint.
Leaking Chimney on Blue Ash Split-Level
Homeowner noticed water stains on the basement ceiling after heavy spring rain. We found a failed crown and open mortar joints on the south face where the stack had settled. We rebuilt the crown, repointed the exposed joints, and added new step flashing. The basement stayed dry through the next several storms.
How it works
- 1
Initial Call and Scheduling
We take the details over the phone and book a same-day or next-day visit from our Plainfield Road shop.
- 2
On-Site Inspection
We examine the crown, flue, flashing, and interior smoke chamber to locate every water entry point.
- 3
Written Scope and Quote
You receive a clear list of needed repairs with line-item pricing before any work begins.
- 4
Masonry and Flashing Work
We repoint, rebuild crowns, replace flashing, and seal penetrations using materials suited to Blue Ash weather exposure.
- 5
Final Walk-Through
We show you the completed work from both roof and basement levels and answer any remaining questions.
Pricing
Upfront written quotes after inspection; cost driven by height, access, and extent of masonry damage.