2026-10-23 ·
How to Inspect Chimney Crown and Flashing on Your Blue Ash Roof
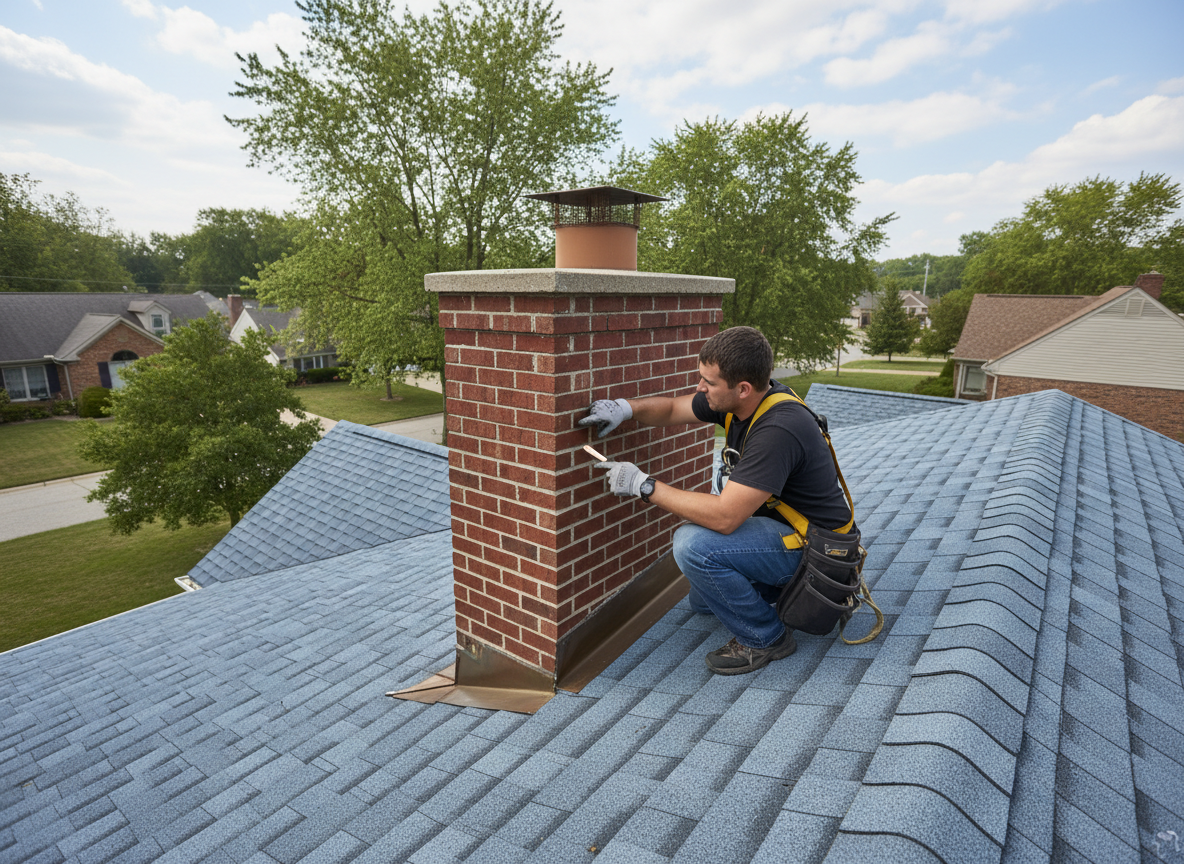
Inspecting the chimney crown and flashing on your Blue Ash roof begins with a ground-level scan using binoculars to spot obvious cracks or separations, then moves to a roof-level check only when safe access is confirmed. Homeowners in neighborhoods around 9000 Plainfield Rd often find early signs during spring and fall walks around the property. The crown sits at the top of the chimney and sheds water while flashing seals the joint where the chimney meets the roof. Both components fail gradually in local brick and stone chimneys, allowing moisture to reach interior walls or attic spaces.
Preparing for a Safe Inspection
Gather a sturdy extension ladder rated for your roof pitch, binoculars, a flashlight, and a notepad before climbing. Walk the perimeter of the home first to note any leaning or missing bricks visible from the yard. Blue Ash properties built before 1980 frequently feature tall masonry chimneys that require two people for ladder spotting. Check weather conditions and avoid any day with wind over 15 mph or recent rain that leaves surfaces slick. Never step directly on flashing or crown materials during the initial walk-through.
Examining the Chimney Crown
Look for hairline cracks radiating from the center or edges of the concrete crown, which is typically 2 to 4 inches thick on local chimneys. Probe gently with a screwdriver to test for soft or crumbling areas that indicate water has already penetrated. Measure any gap between the crown and the flue tile; separations wider than 1/8 inch allow direct water entry during heavy rain. Note the condition of the mortar cap if present, as older Blue Ash homes often show spalling after repeated freeze cycles. Document each defect with photos and location notes for later reference.
Assessing the Flashing Around the Chimney
Check the step flashing and counter flashing for rust, lifted edges, or missing sealant along the sides and upslope edge. Run a finger along the joint where flashing meets the chimney to feel for voids larger than 1/16 inch. In Blue Ash homes with asphalt shingles, examine whether the flashing extends at least 4 inches under the shingles and 4 inches up the chimney face. Look for tar patches that have dried and cracked, a common temporary fix that fails within two seasons. Pay special attention to the downhill side where water pools against the chimney base.
Common Issues Found in Blue Ash Chimneys
Many chimneys in the Blue Ash area show crown shrinkage cracks within 8 to 12 years of installation due to thermal movement. Flashing often separates after 10 to 15 years when sealant dries out or nails back out of the brick. Homeowners near Kenwood and Montgomery report water stains on ceilings after storms when both crown and flashing fail together. These issues appear more frequently on south-facing roofs that receive direct sun followed by rapid cooling at night. Regular visual checks catch problems before they require full chimney crown repair or chimney flashing repair.
When Professional Inspection Becomes Necessary
Schedule a chimney inspection service if you find multiple cracks, widespread rust on flashing, or any sign of interior moisture near the chimney. Professionals use moisture meters and telescoping cameras that reach areas homeowners cannot safely access. Early intervention often limits repairs to tuckpointing or sealant rather than full masonry rebuilds. The team at Peak Wrench operates 24/7 from 9000 Plainfield Rd and can respond the same day when leaks appear during Cincinnati-area spring storms. Review the guide on Preventing Water Leaks in Chimneys During Cincinnati Area Spring Storms for additional seasonal details.